GODIAG GT101 Using Tips: Circuit Troubleshooting/ Relay Test/ Fuel Injector Test & Cleaning
GODIAG GT101 PIRT Power Probe is a multi-use circuit-tester with built-in diagnostic power. It combines these functions incl. Circuit Troubleshooting Test + Fuel Injector Cleaning and Testing + Relay Testing.
GODIAG GT101 PIRT Power Probe is a multi-use circuit-tester with built-in diagnostic power. It combines these functions incl. Circuit Troubleshooting Test + Fuel Injector Cleaning and Testing + Relay Testing. It simplifies the testing of fuse boxes, verifies the correct operation of motors, lights, relays, sensors, wires, and communication-circuits. The large digital color display makes for easy viewing in direct sunlight or complete darkness. GODIAG GT101 unboxing (words and image):
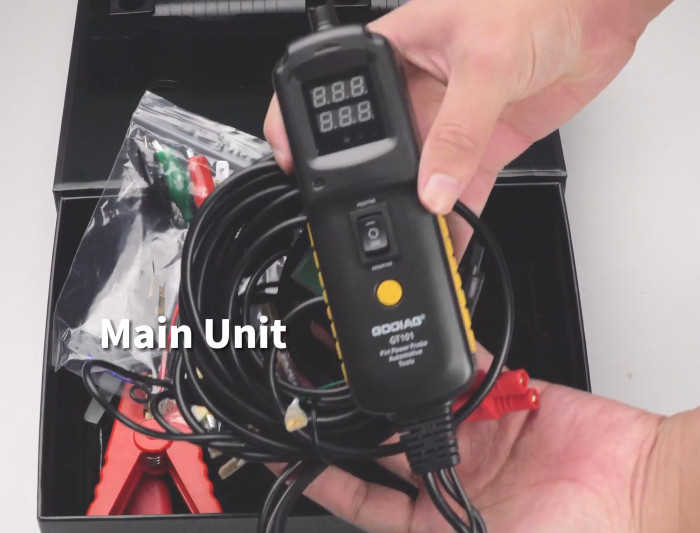
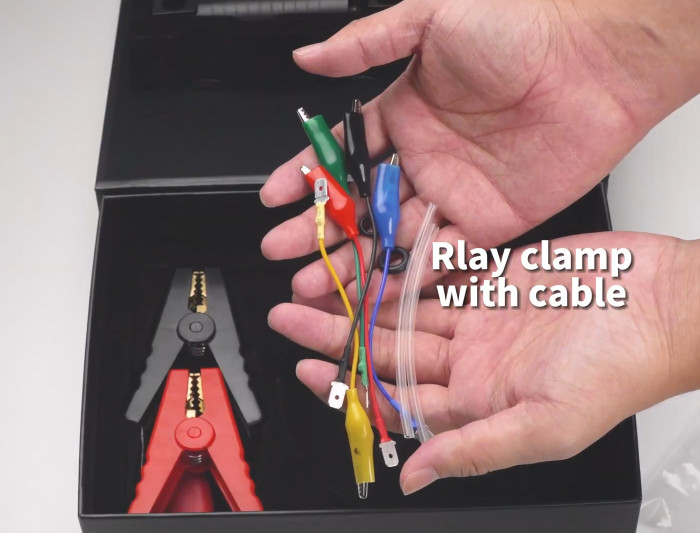
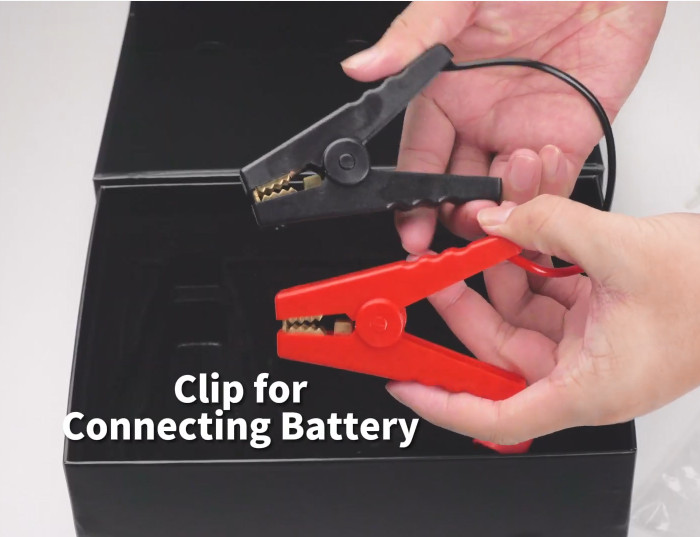
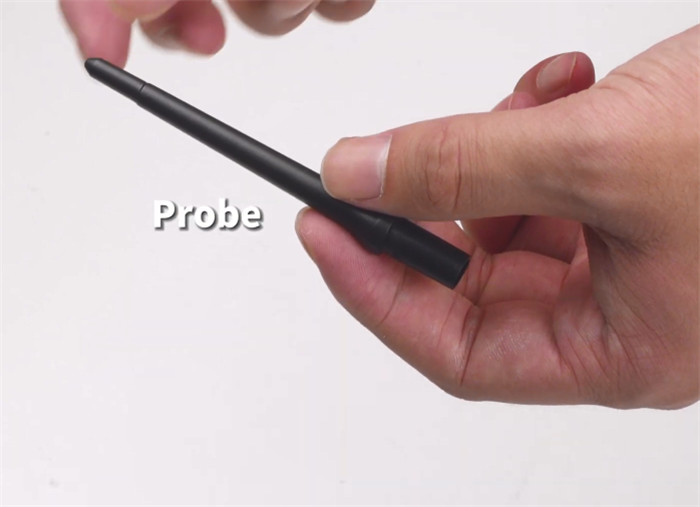
It comes with main unit, Rlay clamp with cable, clip for connecting battery, probe with probe cap, Relay connection cable, relay test adapter, relay connection leads, and English manual.
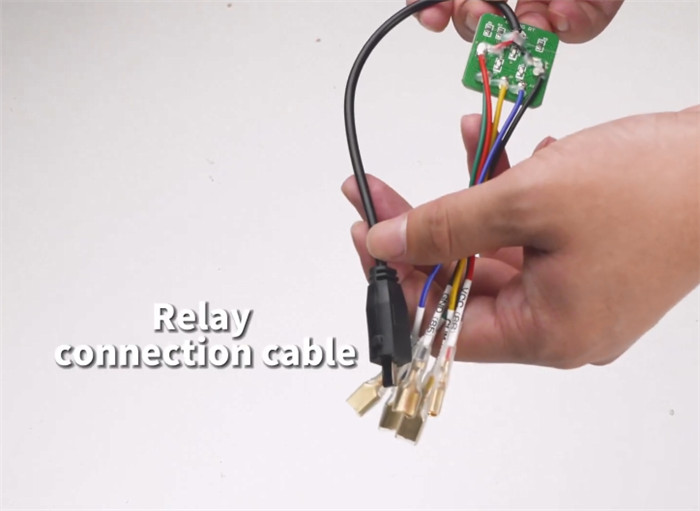
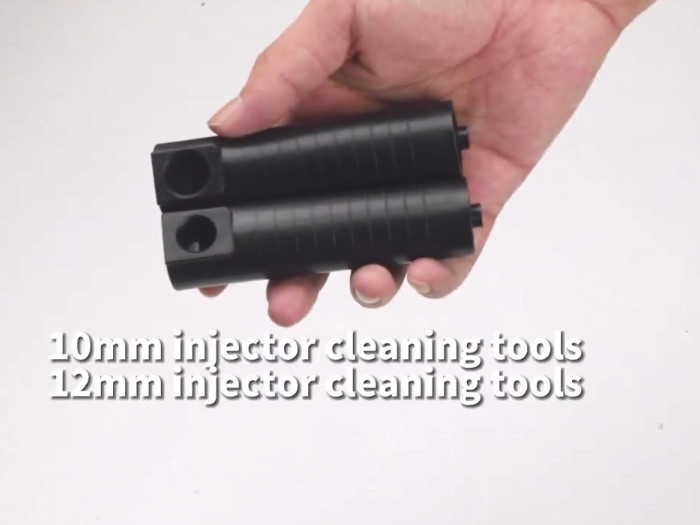
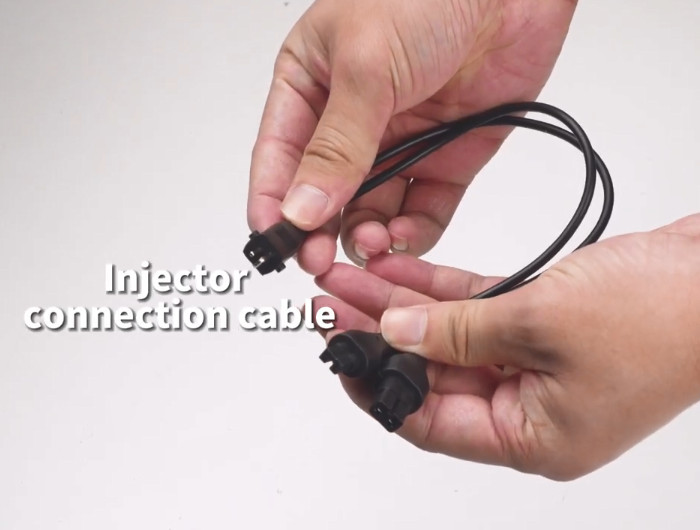
How to use GODIAG GT101?
Connect the power supply and clip the black clip in the power negative pole

The GODIAG GT101 can successfully turn on
Install the probe
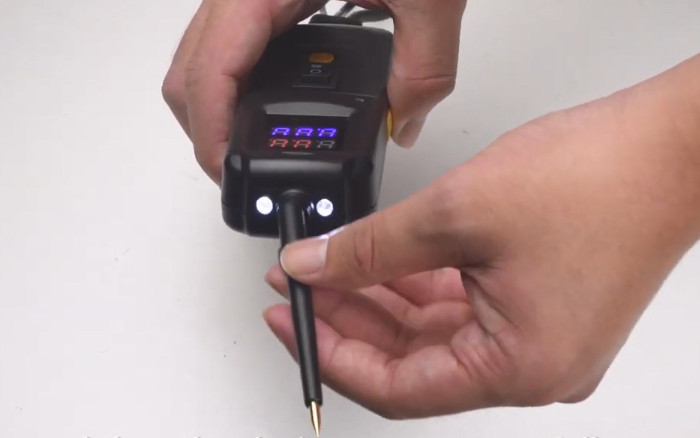
1.Equipment self-check:
Put GODIAG GT101 slowly close to the power negative pole

Output current function display
Clamp the negative pole of the bulb with a clip at the end of the GT101
Hold the device upward
Press the switch to output positive electricity
Slowly approach the rope to the positive pole of the bulb
Then the bulb will light up


2.Relay test:
Connect the relay line
Hold the Godiag GT101 and press the yellow function button
If the relay test line lamp is on normally, it indicates that the relay is functioning normally.
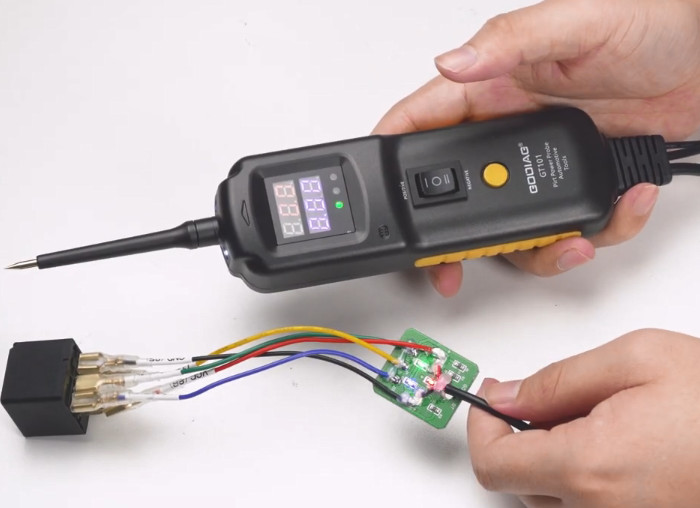
3.Fuel injector test:
Connect the end of the main unit to the fuel injector test line, and the other end of the fuel injector. The other end has two lines representing few injectors different calibers.
Plug the other end into fuel injector
Press the yellow function button
The fuel injector sound can be heard from the fuel injector accompanied by slight vibration, it Indicates that the fuel injector is functioning normally.

4.Fuel injector cleaning:
Connect the fuel injector to the fuel injector cleaning connector
The other end of cleaning connector is connected to the cleaner
Connect the view injector cable to the view injector
After connecting, hold the main unit with your right hand
Press the yellow function button and hold the view injector cleaning connector with your left hand.


Note: Your hands should be held tightly to prevent the cleaning connector from falling off. Because the fuel injector cleaning action will vibrate and then you can see the cleaner sprayed from the nozzle.